In the previous tutorial you have learned how to use the additional buttons and menus in the Blog Beast Text editor. In this Blog Beast tutorial you are going to learn how to make an audio blog post with three audio embedded files from Youtube, SoundCloud and Vimeo. Contrary to a regular WordPress blog, posting audio on the Blog Beast is very easy.
Missed the previous tutorials?
Read previous Blog Beast Tutorial.
Read first Blog Beast Tutorial.
Blog Beast Tutorial 11
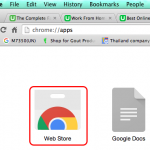
Go to the login page located here and log in.
You will see the 4 blue buttons.

Click on the second blue button.
You will see this.
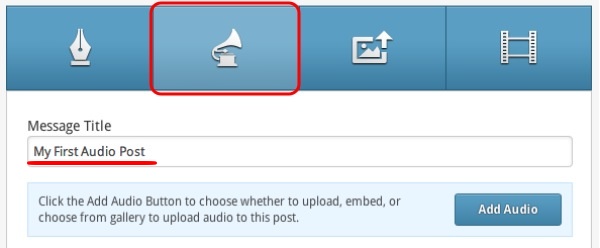
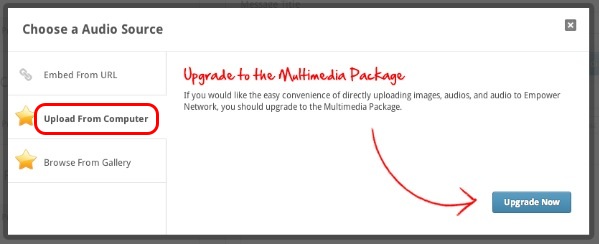
Type a title for your post and click the blue “Add Audio” button.
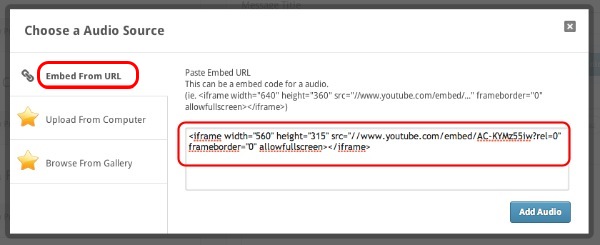
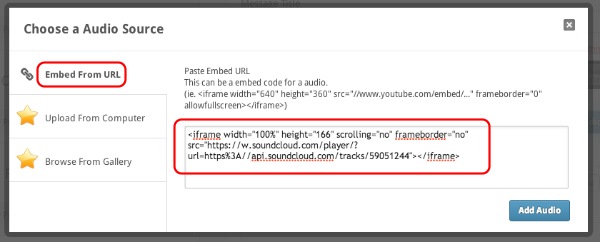
Select the first tab “Embed From URL”.
An embed code has to be made available from the site you are sharing the audio.
In this example, I used a Youtube embed code. It is in fact a video, but only the audio will be embedded.
A word about the two other tabs: they are only available if you have the MultiMedia Package enabled. With this package you can upload audio files to the MultiMedia hosting, browse the gallery and insert them directly in your posts.
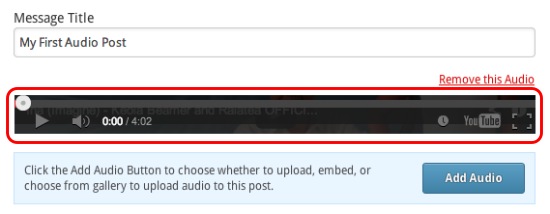
This is how the Youtube audio file shows in the post. It can be played in the back-office.
Now, let’s add a second audio file. Click the blue “Add Audio” button.
Select the first tab “Embed From URL” again.
This time, I used a SoundCloud embed code.
This is the result.

You notice that now there are two little arrows that enable you to go from one audio file to the other.
Let’s add one last audio file. Click the blue “Add Audio” button.

This time, I used a Vimeo embed code.
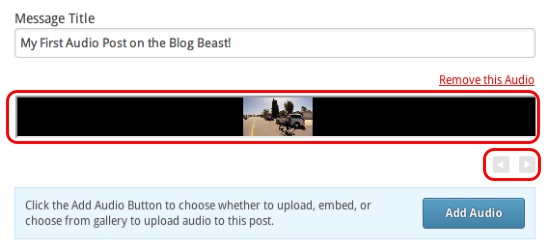
This is how it looks like. You can now switch to the 3 audios with the arrows.
The next step is to write a description. This is optional, but recommended.
You also notice that I have modified my Title.
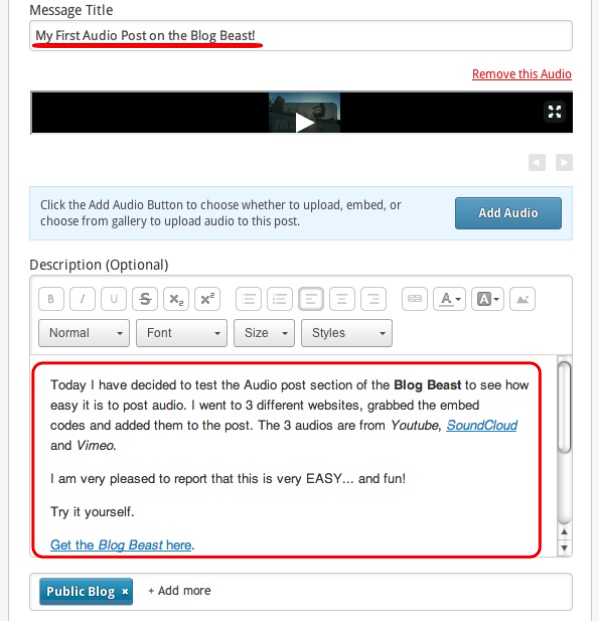
This description will help the search engines to rank your audio post.
Then, select your different options and complete the SEO module as you would do with an ordinary “Text post”.
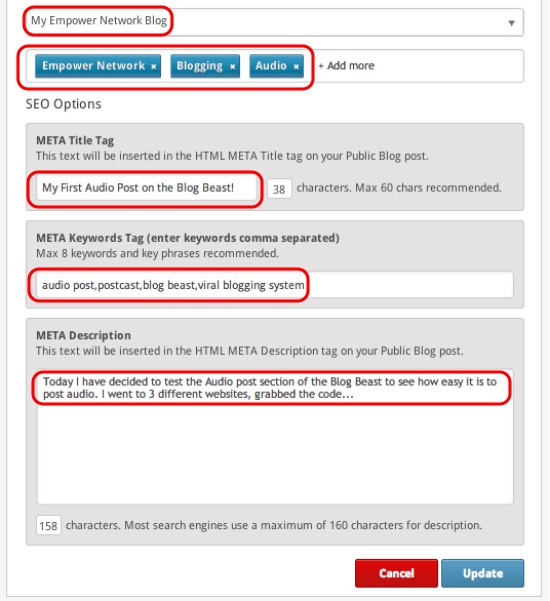
For more details refer to this post.
Click on the blue “Publish” or “Update” button.
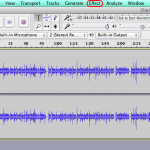
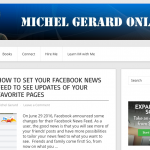
This is how the audio blog post looks like in the activity feed in the back-office.
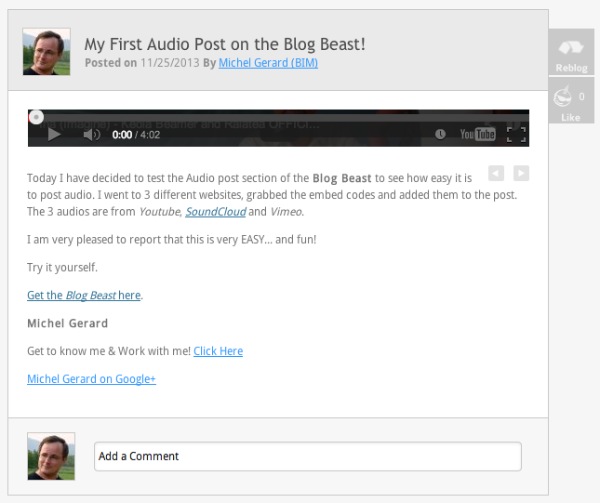
And on the blog.

You see that this was pretty easy to do.
Have a nice day!
I hope this tutorial will be useful to you and I will see you in the next Blog Beast tutorial.
CLICK HERE TO GO TO THE NEXT TUTORIAL
If you have questions, comment below.
What? You still don’t have the blog Beast?
Click the button below.

or
Get it here.