Today I went to do some shopping to see if I could have a proper image using simple and cheap lighting equipment. Lighting on a low budget is possible.
This lighting equipment is sufficient if you are filming yourself sitting at your desk and the best way to control your lighting is to not allow natural light from outside entering the room.
This is what I use.
Lighting on a low budget
– Clamp light x 2
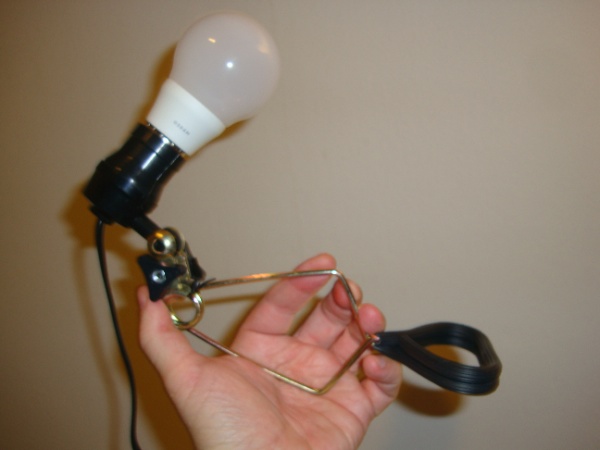
Very basic clamp with no switch.
– Day Light LED x 2
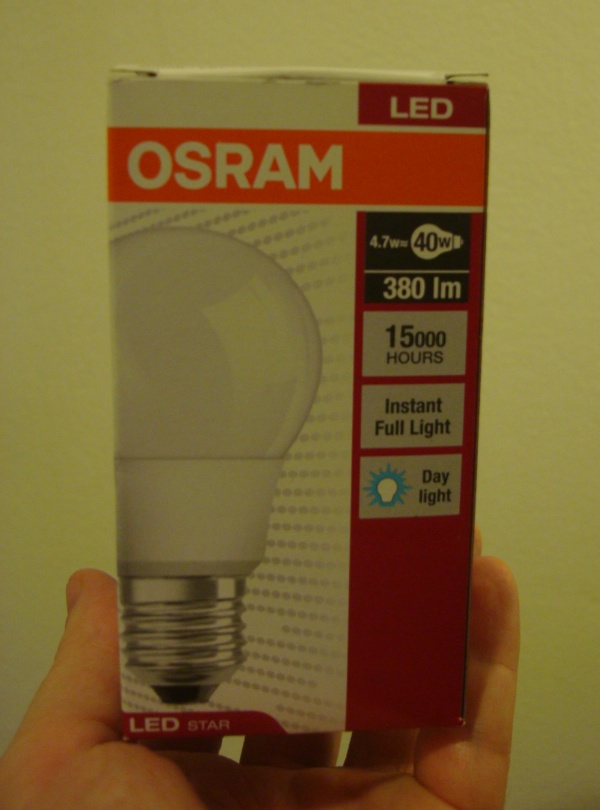
The 4.7 watt bulb produces a soft light and is equivalent to a 40 watt tungsten bulb.
You can of course use 7 watt bulbs or even more if your room is brighter or bigger so you can match the existing light you have.
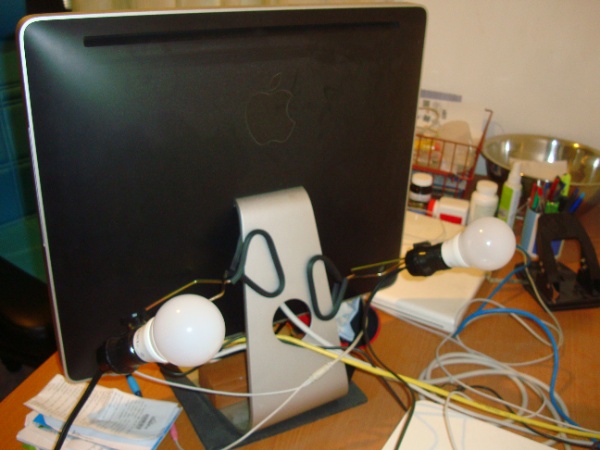
I decided not to use poly-foam this time and direct the lights on the white wall I have. I can attach the two clamps at the back of my iMac like this.
In addition I have a regular warm light bulb on the ceiling.
A third Daylight LED could be use for the background.
This is the image I get with only the ceiling light.

And with the additional two Daylight LED.

Of course, I could change the position of the clamp lights a bit to improve lighting and also not show the ceiling.
The total cost:
– Clamp light x 2: 98 Thb => $3
– Day Light LED x 2: 278 Thb => $8
Lighting on a low budget can be done, I paid a total of $11 for this lighting equipment. In the US the cost my be a bit higher, let’s say it could be $20.
When you are starting out it is not necessary to buy expensive equipment that may give you more light than what you actually need.
Now you can appear on camera and make awesome YouTube videos.