In the previous tutorial you have learned how to make an audio post in the Blog Beast audio section. In today’s Blog Beast tutorial you are going to learn how to make an image blog post with three image files uploaded from your computer. All 3 images will show in the same top location in the post that can be made in just a few minutes.
Missed the previous tutorials?
Read previous Blog Beast Tutorial.
Read first Blog Beast Tutorial.
Blog Beast Tutorial 12
Go to the login page located here and log in.
You will see the 4 blue buttons. Click on the third one for your “image post”.

This will show.
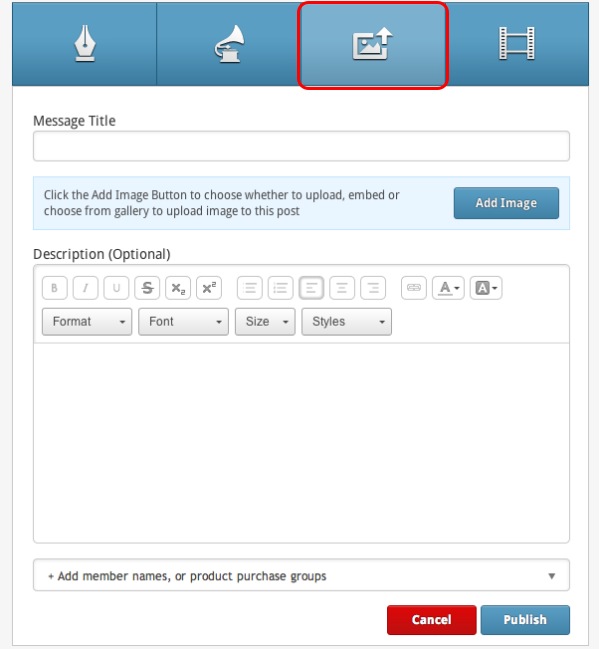
You can see that the module is similar to the previous one.
Now we have an “Add Image” button.

Type your message title and click on the “Add Image” button.
This pop-up will show.
The first tab “Embed From URL” is used if your images are already hosted somewhere on the internet and you want to use them on the Blog Beast. The process is the same as shown in the previous tutorial.

Select the second tab “Upload From Computer”.
Then click on the “Click here to browse computer…”
Select the images on your computer, they will load automatically to the Blog Beast.

In this “Image Post” I uploaded 3 images. You see that the name of the images are showing “Kitty the iPad fairy at 8 months”, etc… The images can be of different sizes, portrait or landscape, but it is better to rename them before upload as they will be searchable in the MultiMedia Gallery.
Click the “Add Image” button.
This is how it will show in your module.
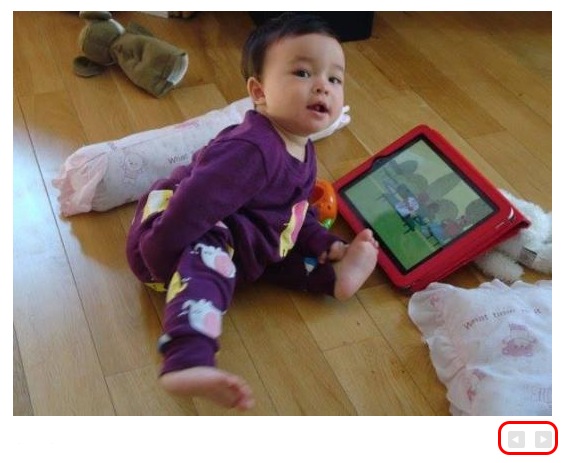
The other images are visible when clicking on the arrows.
Let’s click the “Add Image” button again and select the “Browse From Gallery” tab this time.

You can now type the keyword for the images you want to use, in this case “ipad fairy”. You see that the previous uploaded images show there and you can re-use them in another blog post if you wish.
The next step is to write your description. It is optional, but always better to have one. The editor is the same as in “Text” or “Audio” mode.
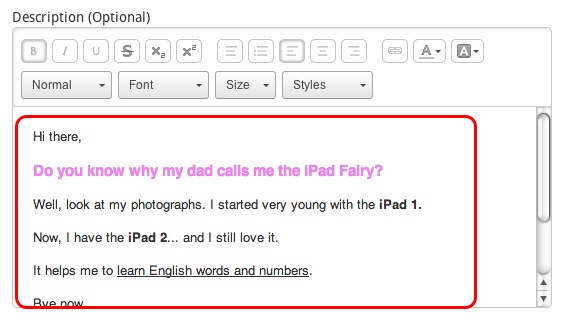
Only one button is missing: the “Image” button. You can’t insert an image in the description as you would do in “Text” mode.
Then select your options.

I chose my daughter’s blog as you can see and selected a few categories.
The next step is the SEO module.
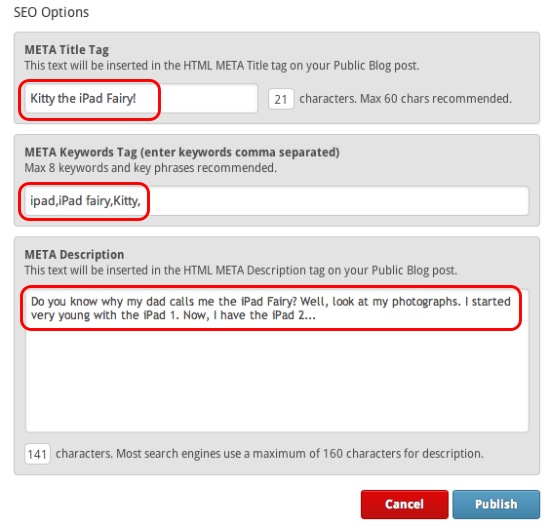
If you need to know more about the SEO module, go to this post.
Then click the blue “Publish” button.
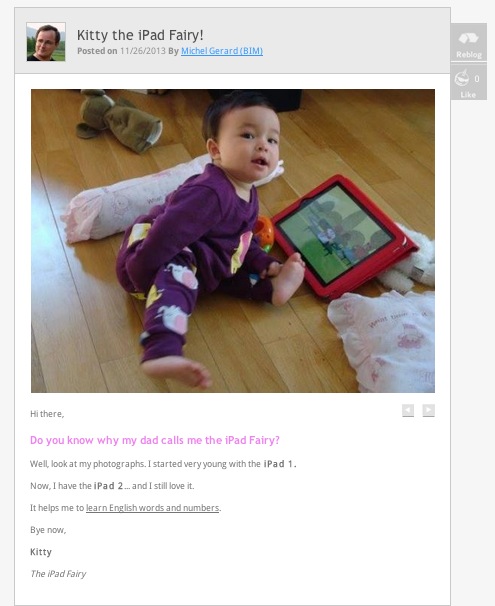
This is how the “Image Post” looks in the activity feed.
…and on the blog.
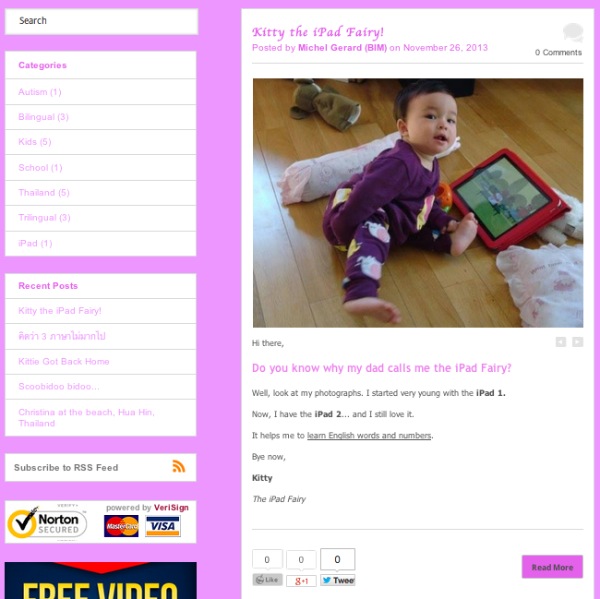
*Click the image to see the real post or click here.
See how easy this was again.
Have fun!
I hope this tutorial will be useful to you and I will see you in the next Blog Beast tutorial.
CLICK HERE TO GO TO THE NEXT TUTORIAL
If you have questions, comment below.
What? You still don’t have the blog Beast?
Click the button below.

or
Get it here.