In the previous post I showed you how to earn your mailing credits in two very popular and effective Safelists. This Safelist tutorial is going to show you in detail how to send your email message to the first list called ListJumper using your credits.
If you do not have an account with them register here: Listjumper.com
Read Safelist tutorial Part 1: CLICK HERE
SafeList Tutorial – List Jumper
The first step is to login here. Use the Safelist email address you used at registration.

You will be welcome by another member’s login Ad. Let the timer go to “0” to earn a few credits and close the window.

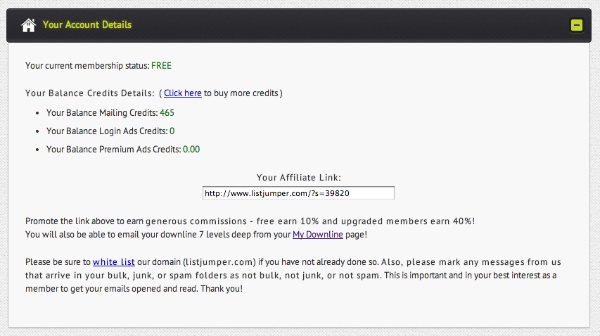
You will then see your stats with the number of credits you have available in your account. In this example you have 465 mailing credits.
ListJumper is a bit special as you have to “JUMP” ahead the other members if you want to email them. This is how it works.
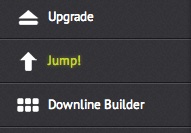
Click on the Jump! button located in the left margin of the site.
You will see this page. The blue section explains at which position you are in Listjumper.com. In this case you have only 388 members that you can email and you have to jump in order to be able to email more.
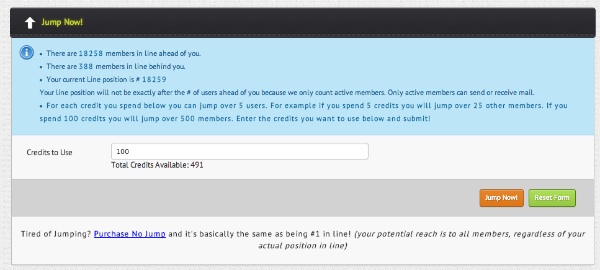
Use “100” mailing credits and click Jump now!
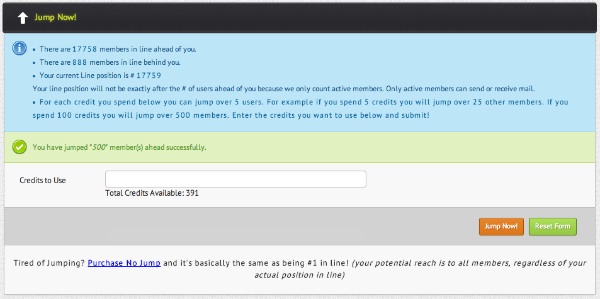
You have jumped ahead 500 members and now can email a total of 888 members. Each time you earn credits, use some to jump in order to climb to the top.
It’s time to send your email to the list now. Click on “Member Mailing” in the left menu.
You will see this page. You may have your message ready in a Notepad document and all you have to do is copy and paste.
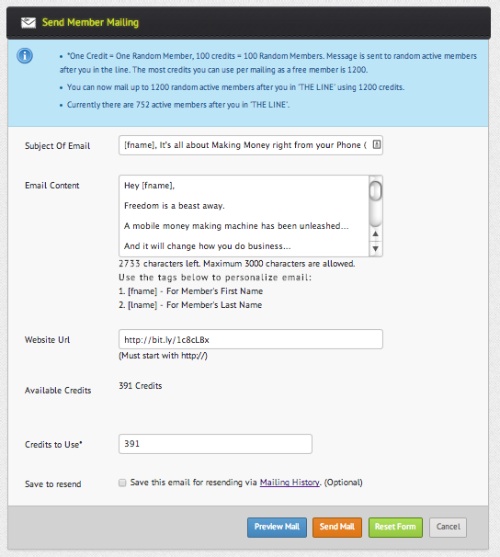
Enter your subject, your email content, your website URL and the number of credits to use, which is in this case “391”.
You notice that there is this code [fname] in the subject and body of the email. This will be replaced by the first name of the person emailed automatically.
The website URL has been shorten with bit.ly for tracking purpose. The body of the message contains one bit.ly link too.
Get a bit.ly account for free.
When your message is ready click the orange “SEND MAIL” button.

You will see a message saying that your email has been sent to the queue and it will indicate you when you can email again. In this case, it’s in 24 hours.
I hope this Safelist tutorial has been useful, in the next post I will show you how to email in ViralNugget.com.