SafeList marketing is a very good way to get free traffic when being started online. Your offer can be shown to thousand of viewers and result in leads and sales. As it is a free traffic source there is some work involved and a learning curve to get the results you expect. I wanted to write a SafeList tutorial for a member of my team in BIM, instead of doing it for one person I decided to post it on my blog.
SafeList Tutorial
I assume that you have already created 2 Gmail accounts for your Safelist marketing, one main account to receive the Safelist emails and another one to receive contact and system emails as well as Solo ads.
Read this post for more detailed information on Safelist Marketing:
Free Advertising With Safelist Marketing
We are going to look at two quality Safelists:
- List Jumper >> SIGN UP FOR FREE
- Viral Nugget >> SIGN UP FOR FREE
I also assume that you have registered for these SafeLists and that the emails are being sent to your Gmail account.
A) Safelist Tutorial: Click for credits
In order to be able to send your message to the Safelists members you have to earn credit. This is the basic way to do it. Log into your Gmail account.

You can see that you have already received emails from Listjumper.com and ViralNugget.com.
Click on a ListJumper email subject and scroll down at the bottom.
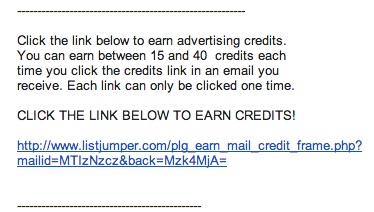
Click the blue link to earn your credits. It will open a tab in your browser with the website.
Do the same with ViralNugget.
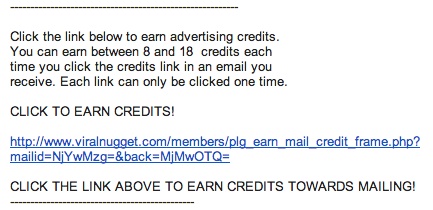
Click the blue link to earn your credits. It will open a tab in your browser with the website.
B) Safelist Tutorial: Viewing for credits
Now 2 windows should be opened in your browser. Let’s have a look at them.
List Jumper displays a timer starting at 20 seconds.

And then gives you between 18 and 40 mailing credits.

Viral Nugget displays a timer starting at 20 seconds.

And then gives you between 11 and 17 mailing credits.

Repeat the process for as many emails as you can to earn your credits.


