Now it’s time to learn in detail how to make a blog post in the Blog Beast. There are 4 kind of posts you can make: text, sound, image and video. This Blog Beast tutorial is going to show you how to quickly and easily make a “Text” post. Make your first post in the Blog Beast now!
Missed the previous tutorials?
Read previous Blog Beast Tutorial.
Read first Blog Beast Tutorial.
Blog Beast Tutorial 3
Go to the login page located here and log in.
You will see the 4 blue buttons.
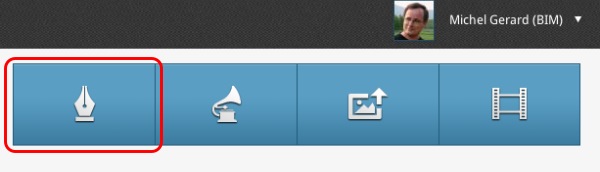
As we are going to make a “text” post, click on the first button.
This window will show.
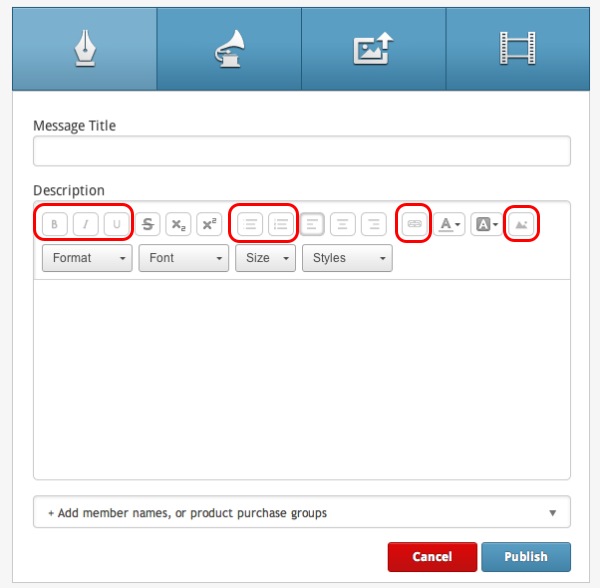
In this tutorial we will describe the use of the buttons circled in RED, which are the most important in the editor to get you started.
For a tutorial on how to use the other buttons, click here.
Type your Title.

Then start your blog post.
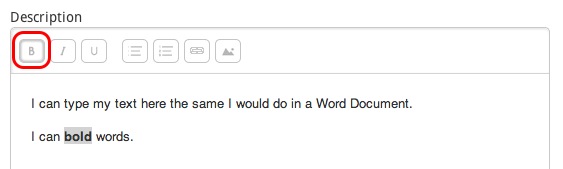
Select a word with your mouse and click the “B” button to bold.
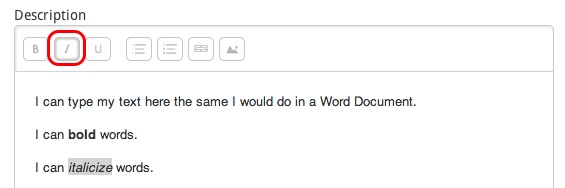
Do the same and click the “I” button to italicize.
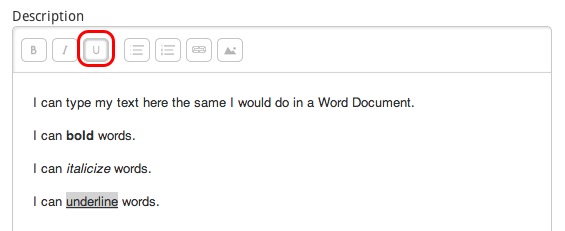
Then try the “U” button to underline.
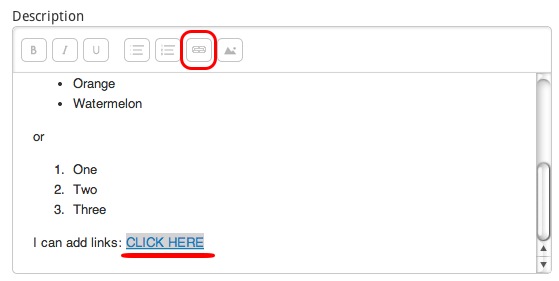
You can also make lists.

With bullets…
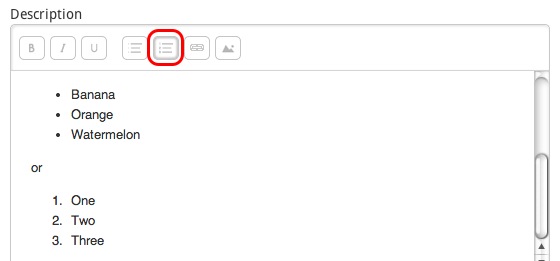
…or numbers.
You can make links.
Select the word you want to contain the link and click on the “LINK” button.
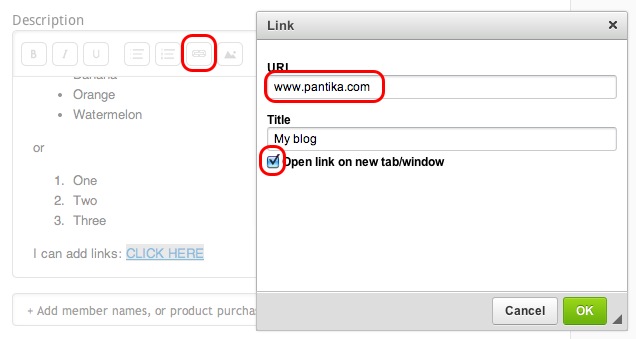
Enter the URL of the link with optionally a “Title”.
If you want the link to open in a new window, select that option and click “OK”.
You can have links on images with the same method.
Let’s add Media.
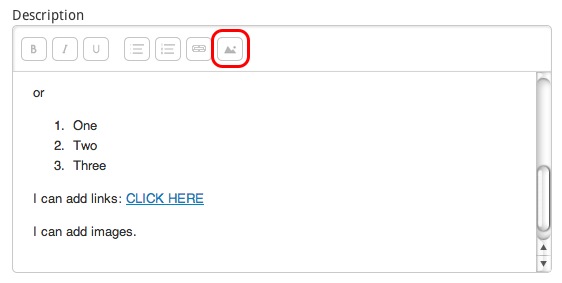
Click on the last button. A window will open.
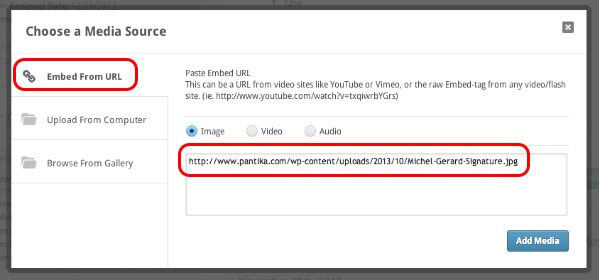
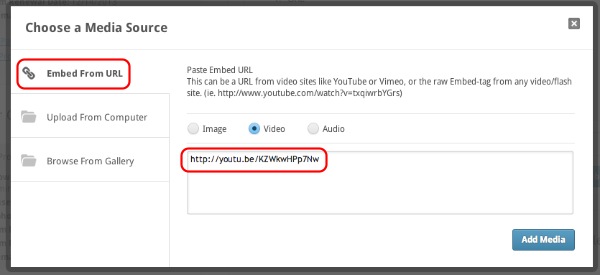
Select the first option “Embed From URL” and click Image.
Paste the link that leads to the image and click “Add Media”.
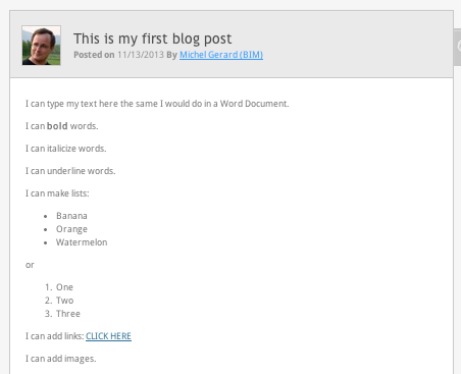
This is what you will get.

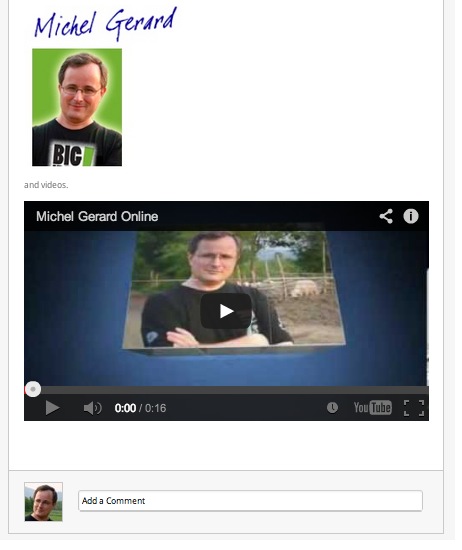
Let’s click again to add a video now.
Select the “Video” option and paste a Youtube link.
Or you may also use the embed video code from Youtube.
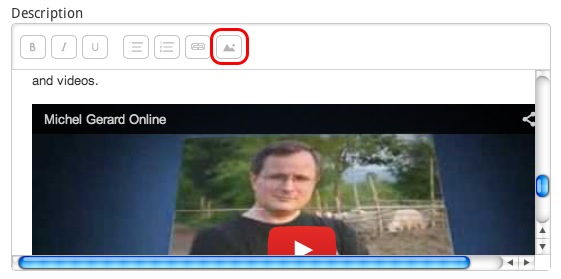
This is the video.
Let’s go back and see the other Media options, click the last button.
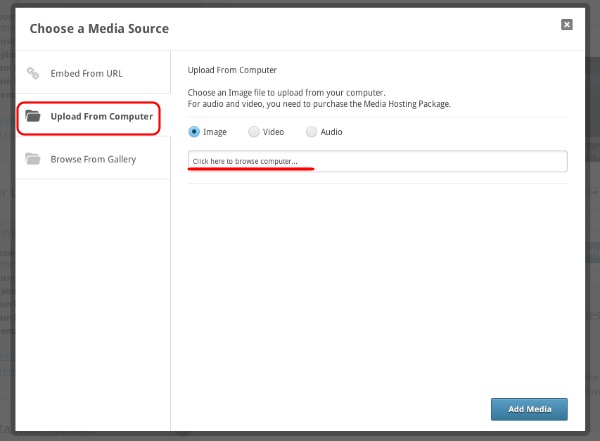
Select the “Upload From Computer” tab.
Select to upload an Image, Video or Audio file.
“Click here to browse computer” and upload the file.
You can also use the Media Gallery.
Select the “Browse From Gallery” tab.
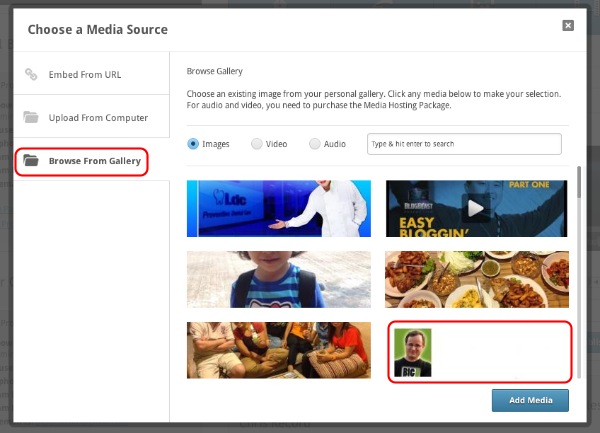
Select the Images button and select the image you want to add. Click “Add Media”.
(If you have the video hosting package you can select your videos and audio from there too.)
When your post is completed, select “Public Blog” in the first window you see. You may also make it private to your customers and team members.
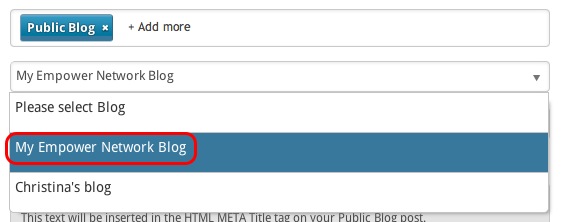
Then, you have to select the blog you want to post it to.
Yes, you can have multiple blogs with the Blog Beast!
Select “My Empower Network Blog”, which is the default blog.
You see in the image that I could post to a second blog named “Christina’s blog”.
And finally, select or add your categories.
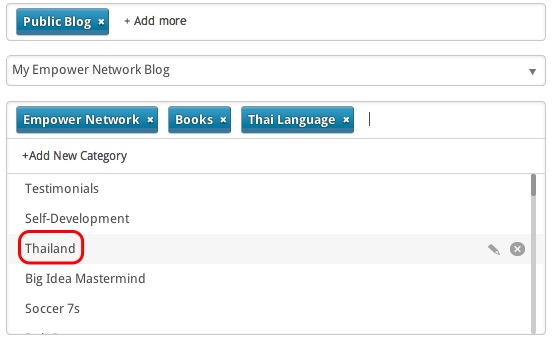
When you click on one category, a blue button will show. You can remove them clicking on the “x”.
The SEO options should have been automatically populated and I will explain more in detail in the next Blog Beast tutorial.
For now click the “Publish” blue button.
Blog Beast tutorial result:
This is what you will see in your back-office activity feed. The same post will show on the selected blog.
I hope this tutorial will be useful to you and I will see you in the next Blog Beast tutorial.
CLICK HERE TO GO TO THE NEXT TUTORIAL
If you have questions, comment below.
What? You still don’t have the blog Beast?
Click the button below

or
Get it here.