This is part 2 of a Bitly tutorial I hope will get you started creating and tracking short links. In the previous post I explained why using Bitly and showed you how to create an account and a profile. In this post, you are going to learn how to create short links and read your stats.
READ PREVIOUS BITLY TUTORIAL POST
Bitly Tutorial – Create a short link
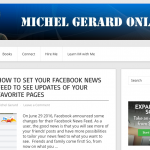
This is time now to create your first Bitly short link. Look at the top right of the site, you will see an area to paste your long link.

When it is done you get a confirmation like this.
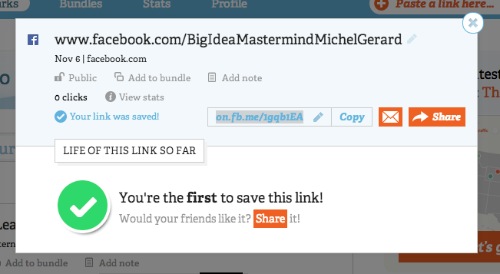
There are different things that you can see. The first line is the long link, which is a FaceBook Page. The FB logo displays and if you want, you can edit and rename to anything that is more relevant to you (click on the little pencil).
The date and domain shows, it can’t be changed.
In the screenshot above the Bitly link is public.
![]()
Click on it and it will become private.
![]()
If you do not want the Bitly link to show on your profile make it private.
“Add to bundle” is a possibility to group short links together, I will not go into detail for this.
Then, you can add a note. You may have for example several Bitly links for one affiliate link. One short link can be used in emails, the others in Social media and blogs. This will enable you to track your results better.
Click on the “Add note” link and an area will show like below. Click Save when you are done.

Finally, you can edit and rename the Bitly link if you wish.

You just click on the little pencil to do that. It has to be unique to the system, it is already in use, Bitly will show an error message.
Now, your short link shows in your “Stuff”.

Bitly Tutorial – Check your stats
You notice on the image below that there is a “View stats” link. It is where you click to see your stats for the particular Bitly link.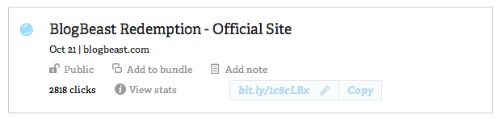
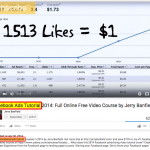
This element will show at the top of the stats page and show that you had 2,818 clicks.
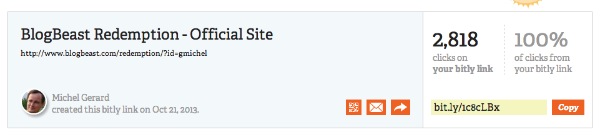
See the real page here: https://bitly.com/1c8cLBx+
It is the same Bitly link wit the “+” sign at the end.
You can see it because it is a Public link.
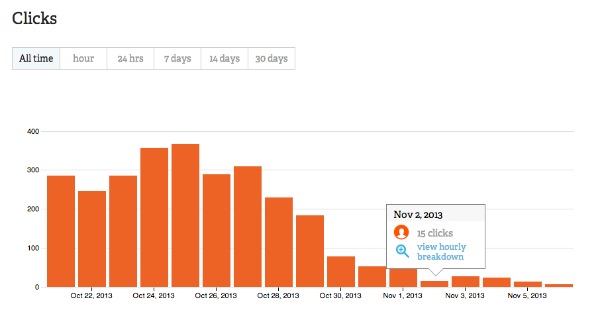
Then it becomes interesting as you can see the detail of your traffic within the period of time you select: All time, hour, 24 hrs, 7 days, 14 days and 30 days.
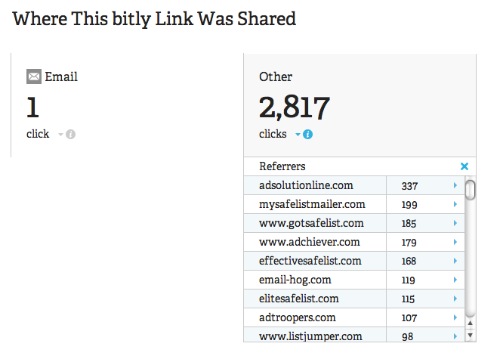
The next section shows where your clicks come from. You can see that I have use this Bitly link for Safelists.
Then comes the map and geographic details of your visitors.
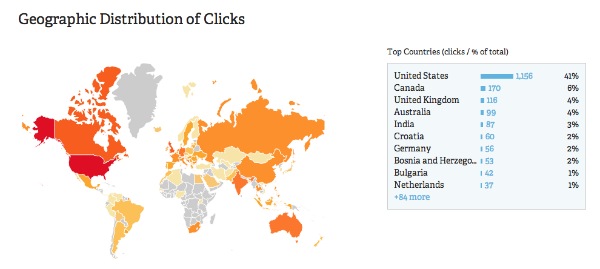
It can confirm you that the traffic is coming from a specific area.
The last area will show you if someone else has used Bitly to share the same content or long link as you did.

As an affiliate link is unique to your member ID, there should be no one else showing in this last portion of the statistic page.
If you haven’t…
READ PREVIOUS BITLY TUTORIAL POST HERE
I hope you have found this Bitly tutorial useful.
Have a nice day!